PHONE CAMERA / COMPUTER PDF
How to Scan a Document to Your Computer Without a Scanner
Paper on your desk. An upload form on your laptop. Use your phone to capture the pages, then review and save the PDF on the computer where you need it.
By ScanDocument · September 17, 2026
Preview: up to 3 pages per PDF. No account needed. View plans
Scan to your computer with your phone
Have the paper, your phone and your computer ready. Put the sheet on a flat surface with even light. Leave a little space around all four edges so you can crop it accurately.
1. Start on the computer
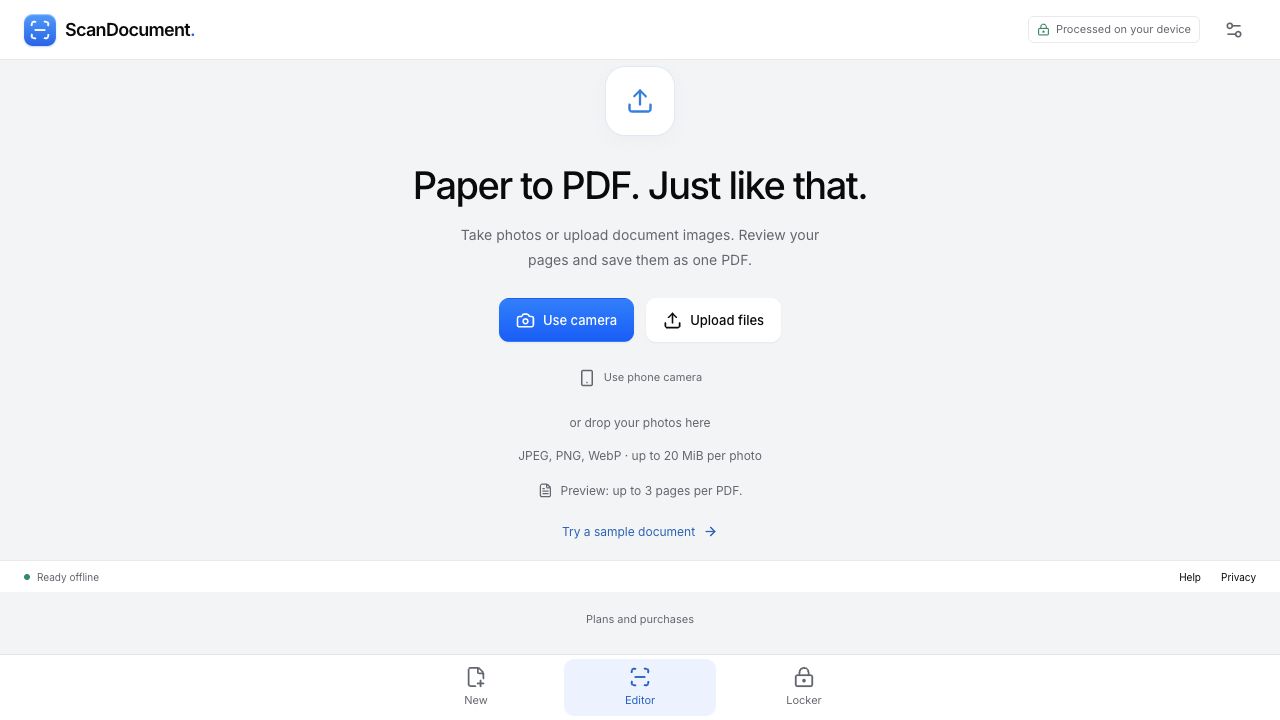
Open the scanner in your computer’s browser and choose Use phone camera. This opens a connection screen rather than using your laptop’s webcam. If the photo is already on the computer, choose Upload files instead and skip to reviewing the page.
2. Open the connection on your phone
Point your phone’s normal camera at the QR code on your own computer screen and open the link. If your camera does not recognize it, expand Can’t scan the QR code? on the computer to copy the private link and open it in the phone’s browser. Do not share that link publicly.
3. Check the number and connect
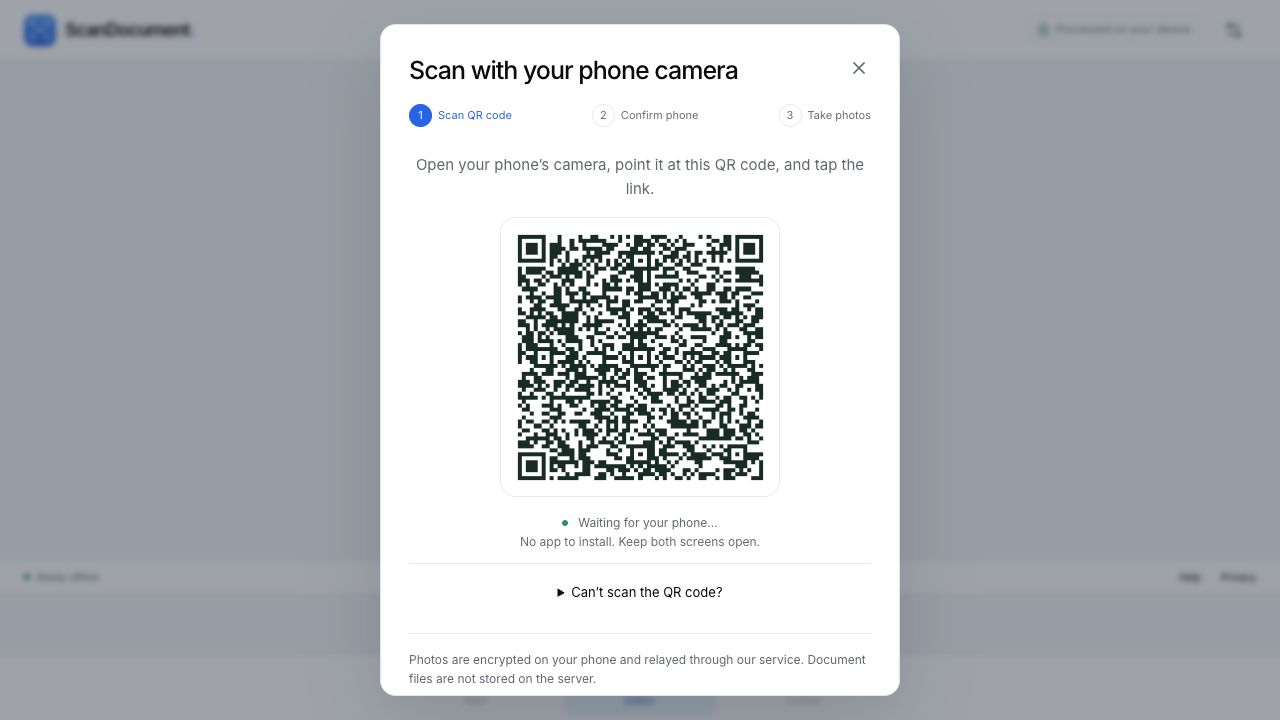
The phone and computer show a matching number. Compare them, then select Connect phone on the computer. There is no code to type. If the numbers do not match, choose This isn’t my phone and start again.
4. Add pages and wait for the receipt
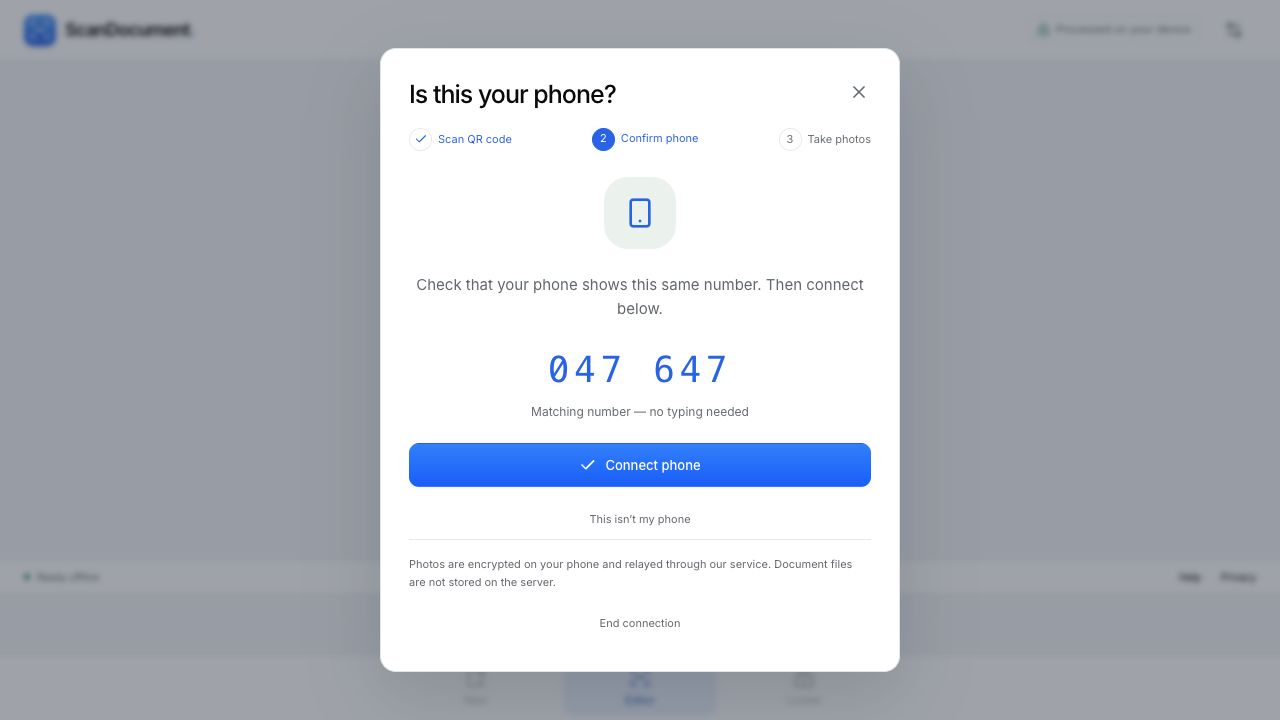
On the phone, select Take a photo and allow camera access if asked. Frame the page, tap the shutter and check that the small text is sharp. Continue taking photos for additional pages; tap Done to leave the camera. If you already photographed the document, Choose photos sends those images instead.
Pages send automatically. Wait for Received on computer before closing the phone screen. A photo taken or queued is not yet proof that the computer received it. Choose Finish on computer when all your pages have arrived.
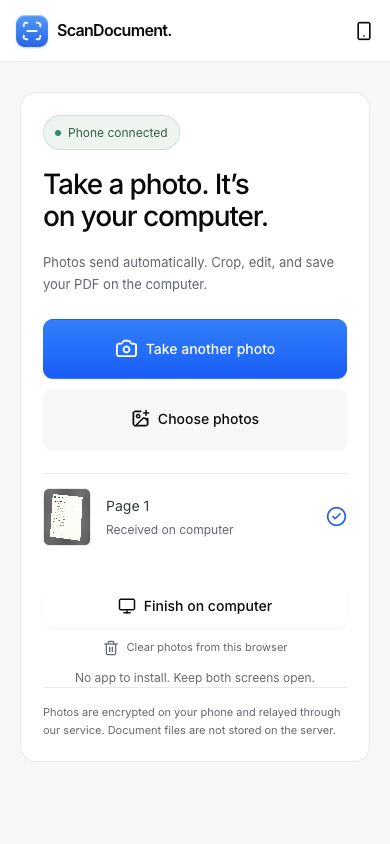
5. Review the document on the computer
Select each page and use Crop if the corners need adjusting. Compare the appearance options for readable text. Check the page order and rotation before exporting. A straightened page can still be blurry: retake it if names, dates or small print are unclear.
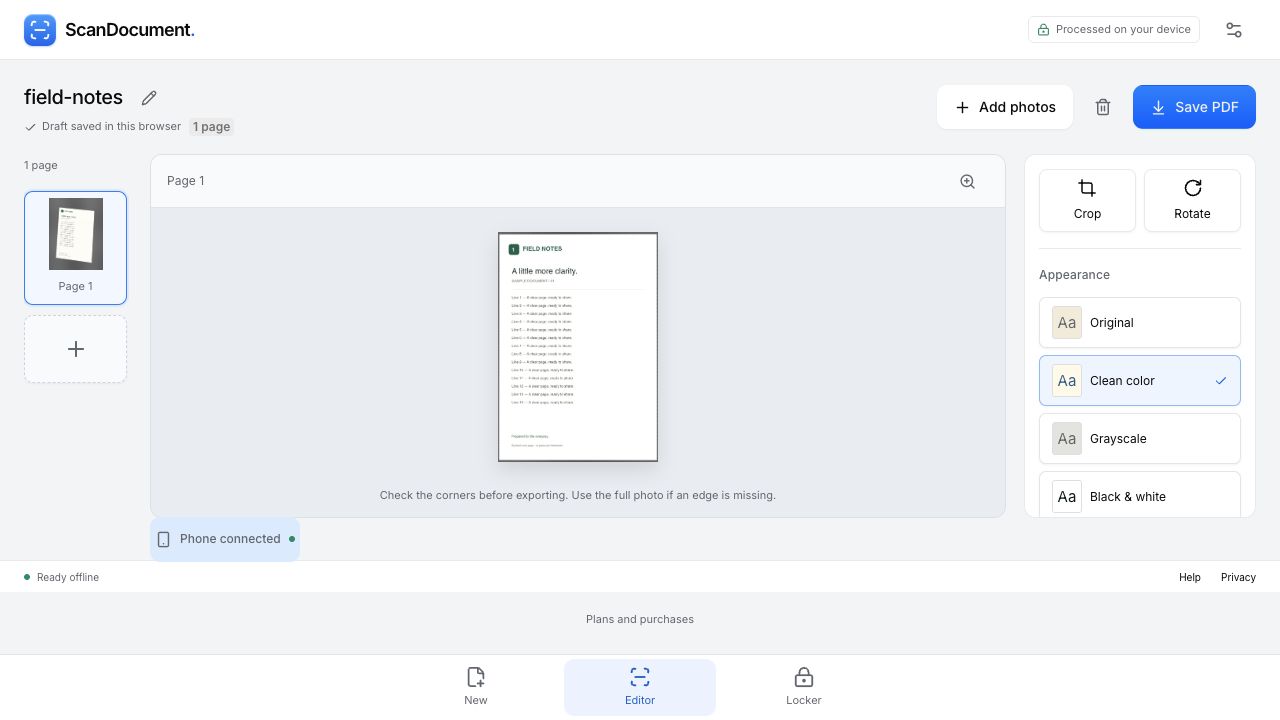
6. Generate, download and find the PDF
Choose Save PDF, check the export settings, then select Generate PDF. When the file is ready, choose Download PDF. Saving a browser draft is not the same as downloading a file you can attach.
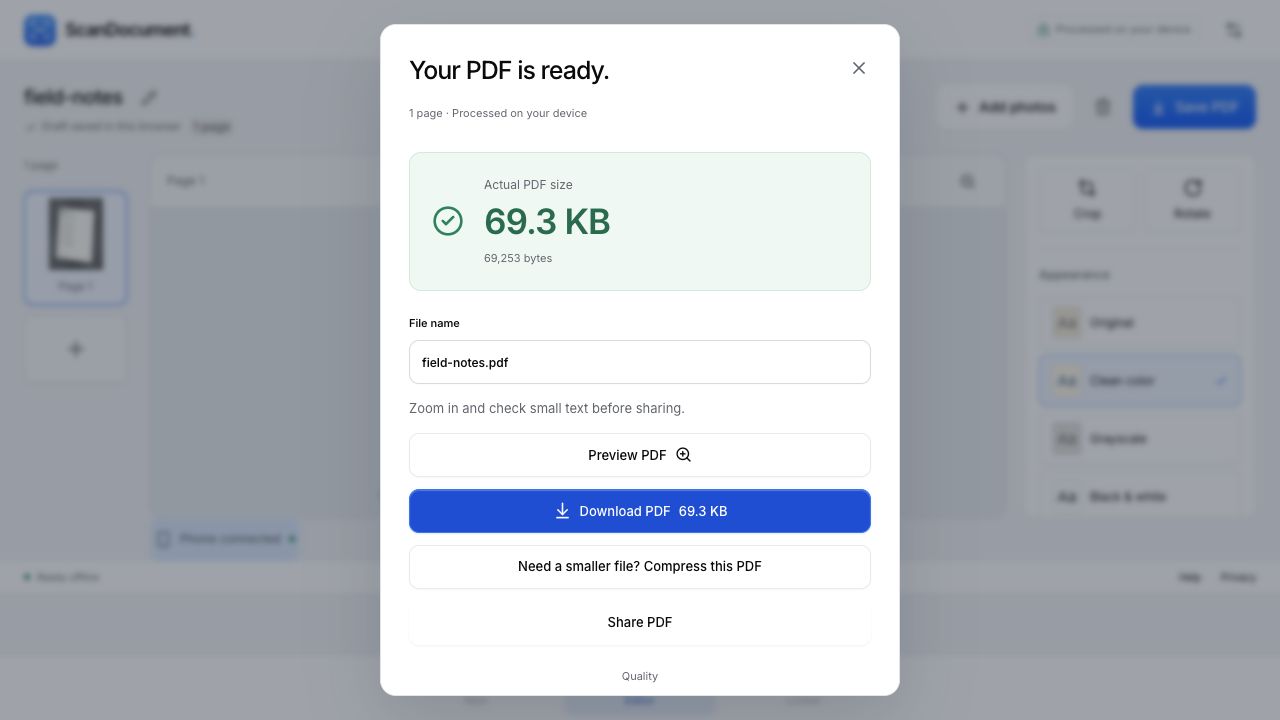
Use your browser’s downloads list to find the file. On Windows, open its location in File Explorer; on a Mac, reveal it in Finder. It is often in Downloads, unless you chose another folder. Rename it clearly, then select that PDF in your email attachment or upload form. You are selecting the downloaded PDF, not this guide or a link to your browser draft.
Open the one-page PDF from this walkthrough. It uses a synthetic form, so you can inspect the result without sharing personal paperwork.
Mac and iPhone: use Apple’s built-in scanner
If you use a Mac and an iPhone, Continuity Camera may already solve this task. In a supported Mac app such as Finder or Notes, control-click and choose Import from iPhone or Insert from iPhone, then Scan Documents. Capture and keep the pages on the iPhone, then save. The scan appears as a PDF on the Mac.
Apple requires compatible devices, Wi-Fi and Bluetooth enabled, and the same Apple Account with two-factor authentication on both devices. Menu wording varies by app. Follow Apple’s current Continuity Camera instructions for the exact requirements. The ScanDocument browser route is another option when you need the document in its editor or your phone and computer do not form that Apple pairing.
If you already have a printer with a scanner
A connected scanner is useful for a stack of pages, especially with an automatic feeder. On Windows, follow Microsoft’s scanner setup instructions. On Mac, use Preview’s Import from Scanner option. Your printer must include scanning hardware; a print-only device cannot capture a paper page.
If something does not work
The QR link expired or the phone disconnected
Keep the scanner open on the computer and reconnect both devices to the internet. Reopen Use phone camera to get a fresh invitation if needed. Check the matching number again. Do not assume pending pages have arrived until the phone shows Received on computer.
The camera will not open
Open the connection in the phone’s browser and check the site’s camera permission. The camera screen also offers Use phone camera instead. Or take the document photo separately and use Choose photos to send a JPEG, PNG or WebP. Renaming a HEIC file to .jpg does not convert it.
A page is waiting or failed to send
Keep both screens open. Reconnect if necessary and use Retry for pending pages. Check the computer’s page list before retaking anything. An unsent page may still be stored in the phone browser; do not clear its data while you need that copy.
Can I put several pages into one PDF?
Yes. Send the pages into the same document, review their order on the computer, and generate one PDF. Preview: up to 3 pages per PDF. No account needed. See the multiple-page guide and current plans for larger documents.
Do the photos stay only on my devices?
Editing and PDF generation happen on your device. For phone-to-computer transfer, photos are encrypted on the phone and pass through our relay; document files are not stored on the server. The transfer needs an internet connection. Read how document privacy works.
About this walkthrough
These are original screenshots of ScanDocument, captured September 17, 2026. We sent the synthetic document through the companion’s Choose photos control, reviewed it in the computer editor and generated the linked PDF. The narrow screenshots show the companion in a resized desktop browser; they are not photographs of a physical phone or a test of its camera. Apple’s native instructions above are linked to its documentation.
Get your paper onto your computer
Connect your phone and scan ↗Preview: up to 3 pages per PDF. No account needed.
Scan a Document from a Photo to PDFScan a document on iPhone